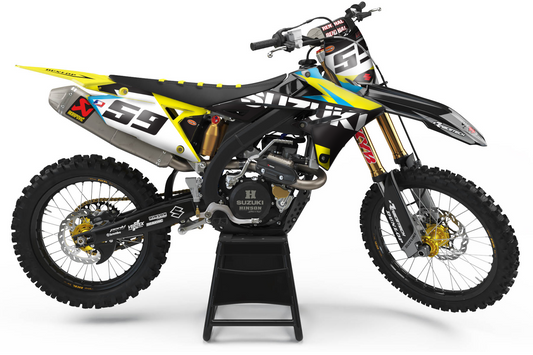
Choose MX graphics that work as a complete kit
The right MX graphics give your motorcycle a recognisable identity without making the ordering process complicated. Start with a design you like, confirm the motorcycle and plastics it needs to fit, then add the rider details that make it yours. Colour matters, but so do a readable number, a balanced layout and a kit whose contents match the panels you want to cover.
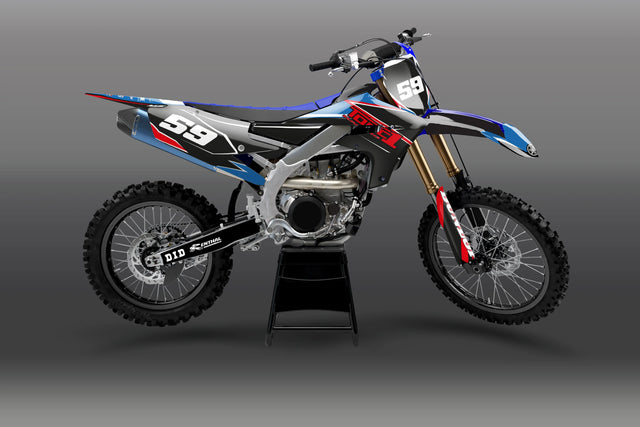
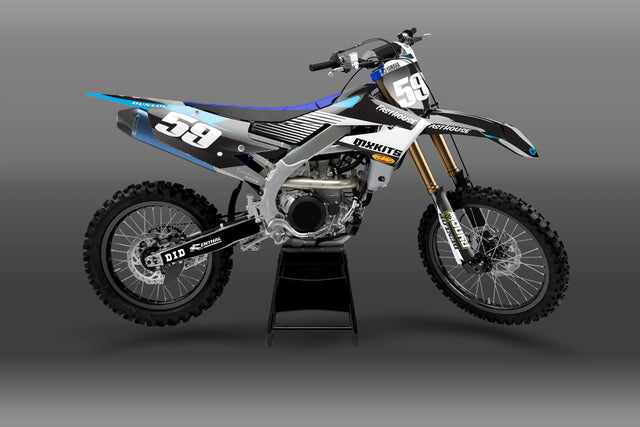
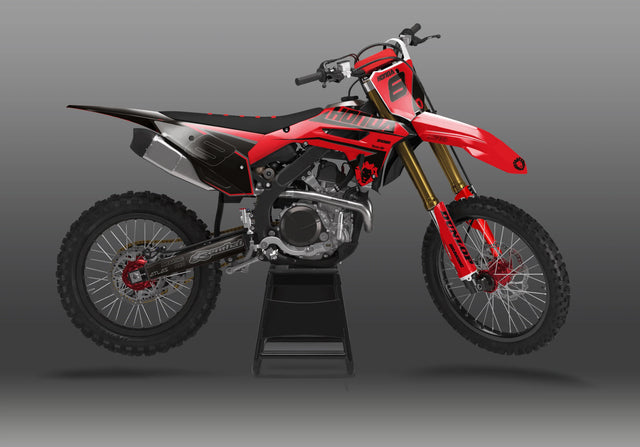
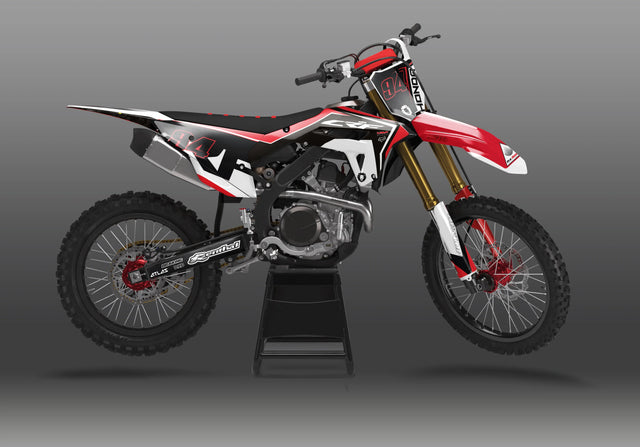
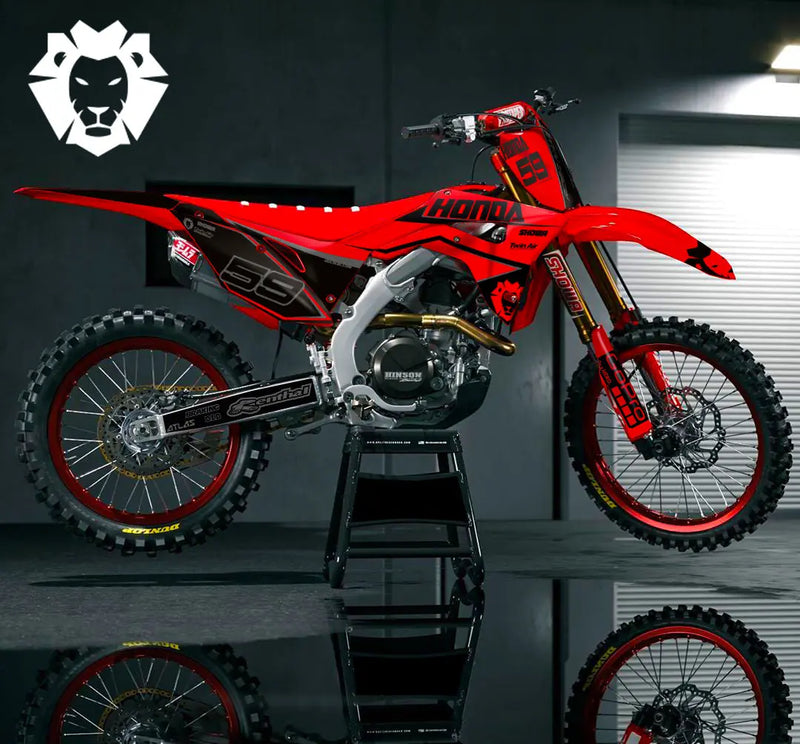
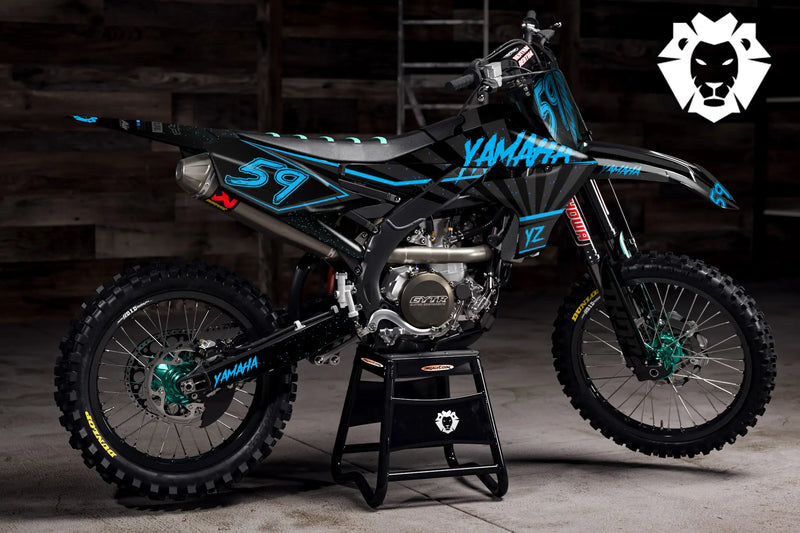
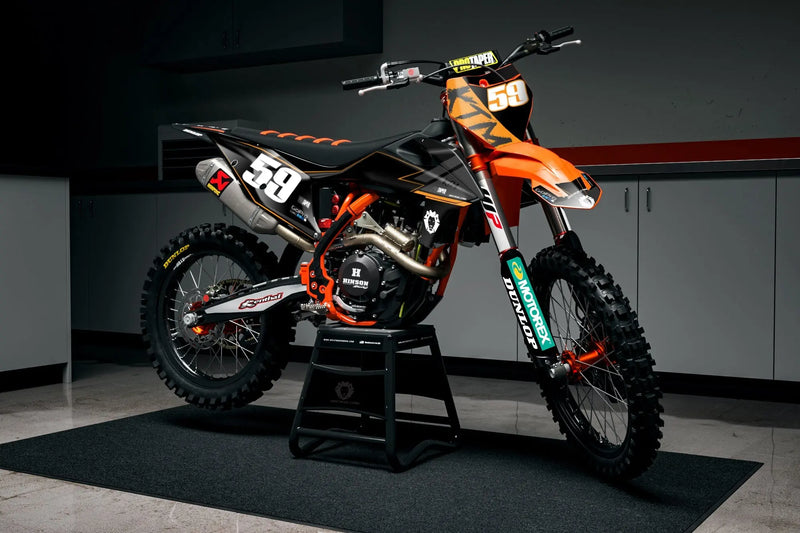
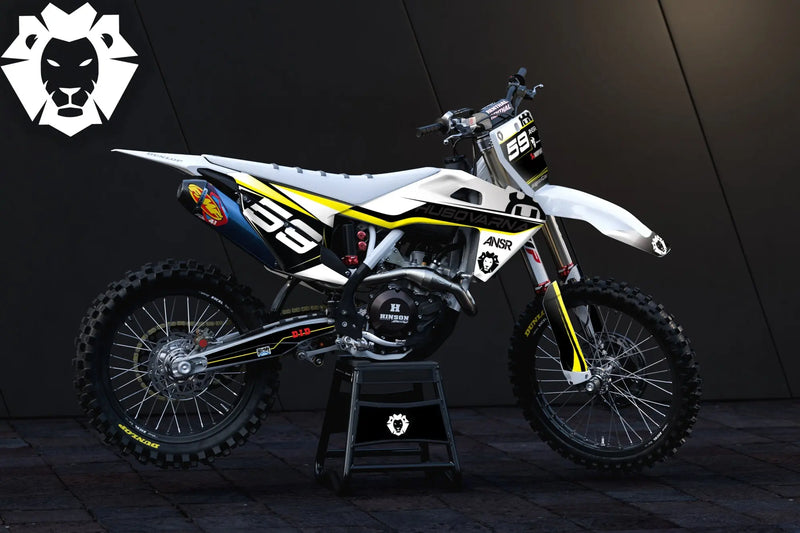
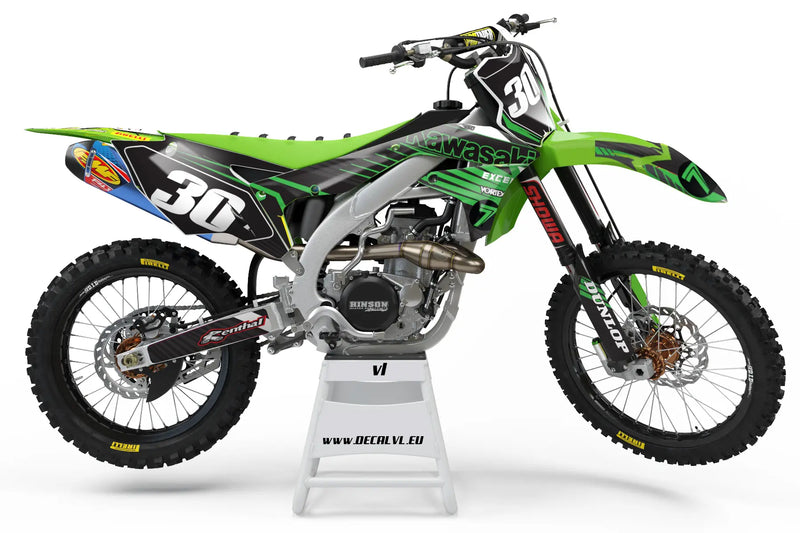
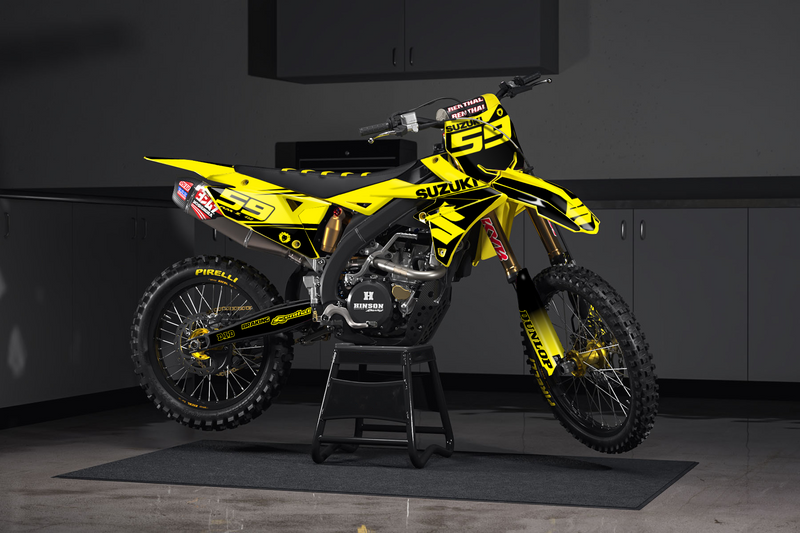
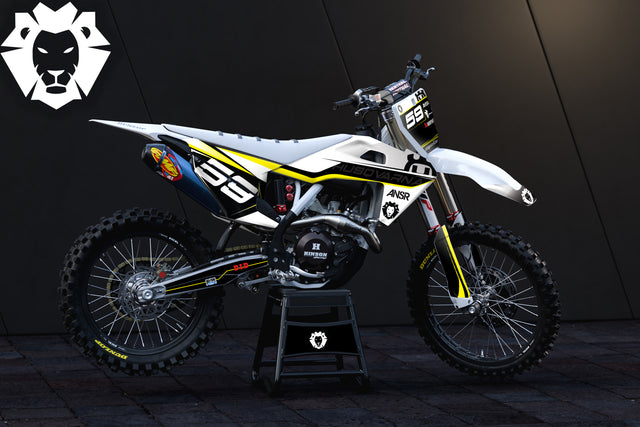
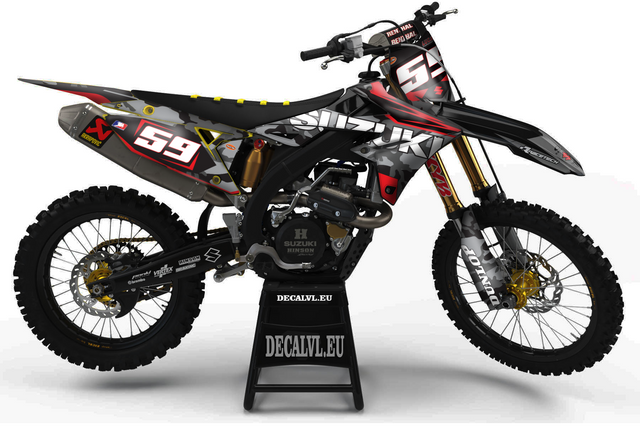
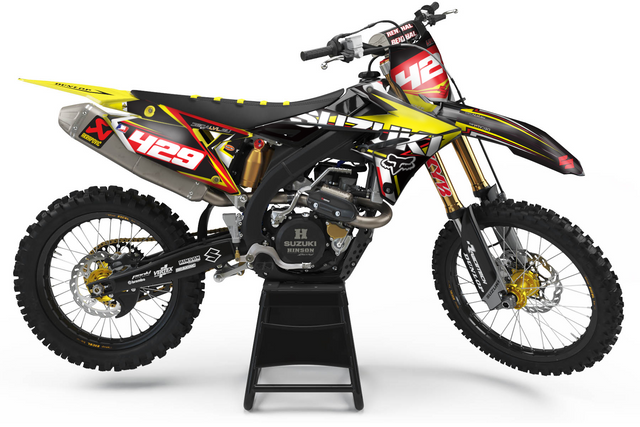
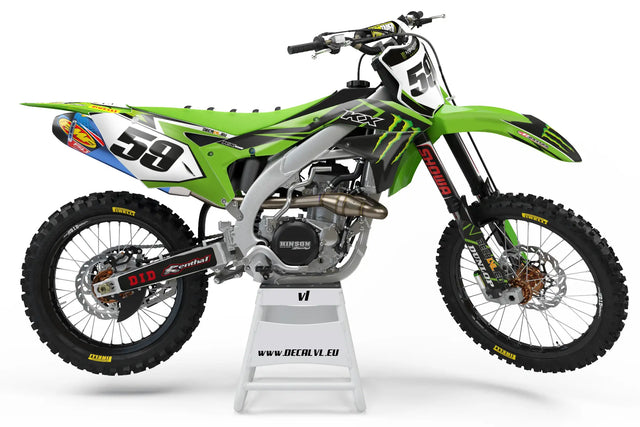
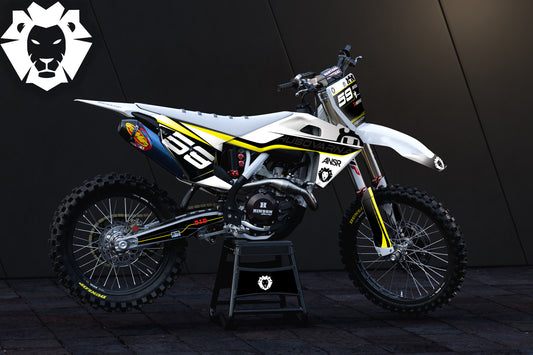
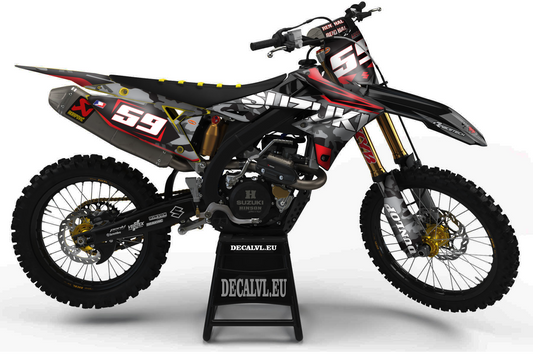
Our collection brings together custom motocross graphics for Honda, Yamaha, KTM, Husqvarna, Kawasaki and Suzuki. Use the brand cards to narrow the selection or browse the full catalogue to compare visual styles. The motorcycle in a design image shows the artwork's direction. Your exact model, model year and installed plastics determine the template that must be checked for your order.
A useful way to choose is to shortlist three genuinely different designs: a clean factory-inspired layout, a stronger colour-blocked option and a more detailed design. Compare them at the same image size. Look at the whole motorcycle first, then the number plates and shrouds. This makes it easier to separate a design you enjoy looking at from one you would actually want on your bike.
Find the right brand, model and year
The manufacturer is only the beginning of a fitment check. Engine capacity alone does not identify a complete motorcycle, and a registration year does not always establish its model year. Give the full model designation and the model year shown in the bike's documentation. Where the identity is uncertain, ask for help before ordering rather than selecting the closest-looking example.
For Honda, begin with the Honda graphics collection and provide the complete CRF designation. For Yamaha, use the Yamaha graphics collection and distinguish the precise YZ or YZ-F model. The KTM designs need the same attention to the SX, SX-F, EXC or other model designation, not simply the word KTM and an engine size.
Husqvarna riders can browse Husqvarna graphics, with the exact TC, FC, TE or FE details supplied for checking. Kawasaki riders should start with Kawasaki graphics kits; Suzuki riders can explore Suzuki RM and RM-Z designs. These model families help organise the enquiry. They are not a statement that every year, version or conversion shares a template.
Aftermarket plastics and restyle kits
A bike's original specification and the panels currently fitted to it are separate pieces of information. A previous owner may have installed a restyle kit, changed the front number plate or replaced only part of the bodywork. Tell us the plastics manufacturer and kit name when known, and send clear photographs of both sides and the front. Include any part numbers you can identify without dismantling the motorcycle.
Check unusual parts early. A headlight mask, oversized tank, modified airbox cover or mixed-year panel set can change the coverage required. Do not stretch a mismatched decal to compensate for the wrong shape. The fitment conversation belongs before design approval, when the correct panel layout can still be established.
Custom MX graphics: name, number and colour
Personalisation should look like part of the design, not a label placed over it. Send your rider name exactly as it should appear, including capitalisation, spaces and any accents. Write the race number separately and mention whether a leading zero is intentional. A short, unambiguous brief helps keep the front plate, side panels and smaller name placements consistent.
Think of colour in terms of roles. Choose a main colour, a supporting colour and a neutral background rather than requesting equal amounts of everything. Consider the plastics that remain visible around the decals, the seat and the riding gear you use most often. A printed gold or silver colour is not automatically a metallic material; discuss a reflective or special-effect finish separately.
Race numbers need room to remain readable. A three-digit number occupies more space than a single digit, and a long surname changes the balance around nearby logos. For competition, check the current requirements of your series or event before approving the number style and background. Do not assume that a design image is evidence of compliance with every organiser's rules.
Supply usable sponsor artwork
Send original logo files where possible, along with the permitted colour version and a clear order of importance. A small screenshot can be difficult to reproduce cleanly, especially when it includes a background or compression artefacts. Let us know which logos must remain unchanged and which areas should stay uncluttered. Only provide artwork you are entitled to reproduce.
For a team, keep one master list of rider names, numbers and motorcycles. Give each bike its own model and plastics information, even when the riders want matching graphics. The visual identity can be shared while the panel shapes and proportions differ. One agreed brief is more reliable than conflicting instructions spread across several messages.
Understanding 21 mil motocross graphics
MXkits describes its motocross graphics as a 21 mil layered construction. A mil is one thousandth of an inch. A nominal 21 mil thickness therefore converts to approximately 0.53 mm. It is not 21 mm, and a quoted laminate thickness should not be confused with the specification for the complete graphic.
The printed film holds the design and its adhesive system; the clear overlaminate covers the print. A familiar example in motocross materials is a 6 mil print film paired with a 15 mil laminate. The two nominal figures add to 21 mil. Exact measurement conventions, adhesive layers and tolerances still depend on the manufacturer's specification. Check the material and finish agreed for your individual order rather than using thickness alone to identify a product.
The practical questions are straightforward: is the adhesive intended for the surface, is the print protected, does the material suit the panel shape, and has the installer prepared that surface properly? More thickness cannot correct contamination, a wrong template or a damaged panel. Our material and ordering FAQ explains the store's stated specification and the information needed before production.
Adhesion, abrasion and sunlight
Adhesion describes the bond between the graphic and the prepared panel. Abrasion describes wear at the exposed surface. They are different issues: a decal can remain firmly attached while developing boot marks, or look almost new while lifting at an edge contaminated during installation. Inspect the particular area instead of assuming every sign of wear has the same cause.
A protective laminate is intended to shield the printed surface during use, but it is not crash protection and cannot make a kit indestructible. Sunlight, storage, riding conditions and cleaning all affect appearance over time. Avoid interpreting an unprinted film's outdoor durability figure as a guarantee for a finished motocross kit. Printed colours, edges and high-contact zones face different conditions on a motorcycle.
Gloss, matte and special-effect finishes
Gloss and matte change how light falls across the artwork. Gloss creates a more reflective surface; matte gives a lower-sheen appearance. Neither choice should be made from an edited promotional photograph alone. Ask about the finish available for the selected kit, and compare a real material sample when the surface effect is central to your decision.
Chrome, holographic and metallic effects involve material choices as well as artwork. They are not simply names for printed colours. A proof on a screen is useful for placement and colour direction, but it does not reproduce every reflection or viewing angle. Confirm availability and any price difference before treating a special finish as included in the displayed design.
Choose around the bike you ride, not only the photograph you hope to take. Large calm areas give a number and sponsor marks more breathing room. Busy patterns can work well when their scale suits the panels. Our graphics finish guide goes into the visual trade-offs without treating one finish as the answer for every rider.
What comes in an MX graphics kit?
Read the individual product's coverage description before comparing prices. A complete visual design, a number plate set and a single replacement decal are different purchases. Depending on the agreed kit and template, coverage may include shrouds, number plates, side panels, fenders or fork guards. Confirm the exact pieces rather than assuming that every visible part in a motorcycle mock-up is supplied.
This collection is for graphics and decals. Motorcycle plastics, seats, wheels and other hardware shown in design images are not automatically part of the order. Ask specifically about rim decals, mini plates, swingarm graphics and other extras when those pieces matter to your project. A clear coverage list prevents two apparently similar kits from being compared on an unequal basis.
For an existing design that needs only one damaged panel replaced, send the original order reference, the affected side and a photograph. Replacement feasibility and colour matching should be checked before ordering. A fresh print may not look identical to an older kit that has already changed through sunlight, abrasion or cleaning.
From design choice to approved artwork
Choose the nearest design and supply the full motorcycle details, rider name, number, colour notes and usable logos together. Highlight non-standard plastics at the start. For a completely new layout, use the custom graphics enquiry and explain the direction, the bike and the pieces required. A concise reference is useful; a list of unrelated ideas is harder to translate into a coherent kit.
MXkits provides a design proof for review before production. Check it in two passes. First verify the information: motorcycle, name, number and logos. Then review the composition: balance, contrast, placement and the relationship between panels. Read every word rather than relying on familiarity with the name. Small spelling errors are easier to correct at the proof stage than after printing.
Send requested revisions in one clear message and identify the panel or element involved. Approve only the version you have actually checked. The store's standard production estimate is 3 to 5 business days after payment, receipt of the required details and design approval where required. This is separate from delivery, and missing information or additional changes can affect the timeline. Review current order terms before planning around a race date.
Prepare and install with the panel in mind
Lay out the kit before exposing adhesive. Match each piece to its panel and confirm that left and right sides are correctly identified. Test the intended alignment around openings, bolts and edges with the backing still in place. An unfamiliar shape is a reason to stop and check, not to cut or stretch the decal immediately.
Remove old graphics and adhesive residue using methods compatible with the plastics. The final surface should be clean and dry, without silicone, wax, grease or cleaner residue. New plastics still need inspection and preparation. Deep scratches, oxidation, cracks and distorted panels may need attention before a new graphic has a suitable surface to bond to.
Work in a clean, controlled space and follow the instructions for the actual material. Apply gradually, keeping the remaining backing under control and working air towards an available edge. Heat can help with some shapes, but overheating or unnecessary stretching can damage the material or create tension. Our installation guide explains the sequence; ask for product-specific advice when needed.
Wash, inspect and replace intelligently
Give a newly fitted kit the settling time recommended for its material before riding or washing. Remove dirt without grinding grit into the surface, and use compatible cleaning products. Do not aim a close, concentrated pressure-washer jet underneath decal edges. Pay particular attention to corners, seams and areas that boots repeatedly contact.
After cleaning, inspect for lifting, trapped contamination and local wear. A small problem deserves a closer look before it spreads. Avoid hiding contamination with an improvised adhesive repair or applying a new piece over an old failed decal. The washing and care guide and graphics lifespan guide explain how to distinguish appearance changes from issues that justify replacement.
MX graphics questions
Are MX graphics and motocross graphics the same thing?
In this collection, both terms describe printed decal designs prepared for off-road motorcycle panels. The name does not establish fitment. Confirm the motorcycle model, year and installed plastics for the particular kit.
Can I add my own name and race number?
Yes. Rider name and number personalisation is part of the custom ordering process. Provide the exact details and check them on the artwork proof before approving production. Confirm other requested changes with the selected product.
Does a picture of my bike model guarantee compatibility?
No. The image is a design example. Model year, model variant, aftermarket plastics and changes to individual panels can affect the required template. Send the complete details before the artwork is prepared.
How thick are the graphics?
MXkits describes its motocross graphics as a nominal 21 mil layered system, approximately 0.53 mm. Check the specification and available finish for the individual order, and distinguish total construction from laminate thickness alone.
Are plastics included?
This collection sells graphics and decals. Do not assume that motorcycle plastics or other parts shown in a design image are included. Use the individual product's coverage information to confirm exactly what you are ordering.
Can I request graphics for another manufacturer?
Yes, you can send an enquiry with the manufacturer, full model, year and photographs of the plastics. Availability must be checked before ordering. An empty or unlisted brand collection is not evidence of a supported template.
Can I replace just one damaged decal?
Contact us with the original order reference, the affected panel and a photo. We can check what is possible for that design. Confirm availability, price and expected colour matching before placing a replacement order.
How do I check delivery before ordering?
Review the shipping policy and the options for your destination. Design and production time are separate from transport. Contact us before ordering for a fixed event date rather than assuming a minimum timeline.
Ready to choose your kit? Return to the bike selection above, compare a few designs and send the details that make the order yours. A clear brief is the strongest starting point for custom graphics that look considered from the first proof to the finished motorcycle.