Taxes included.
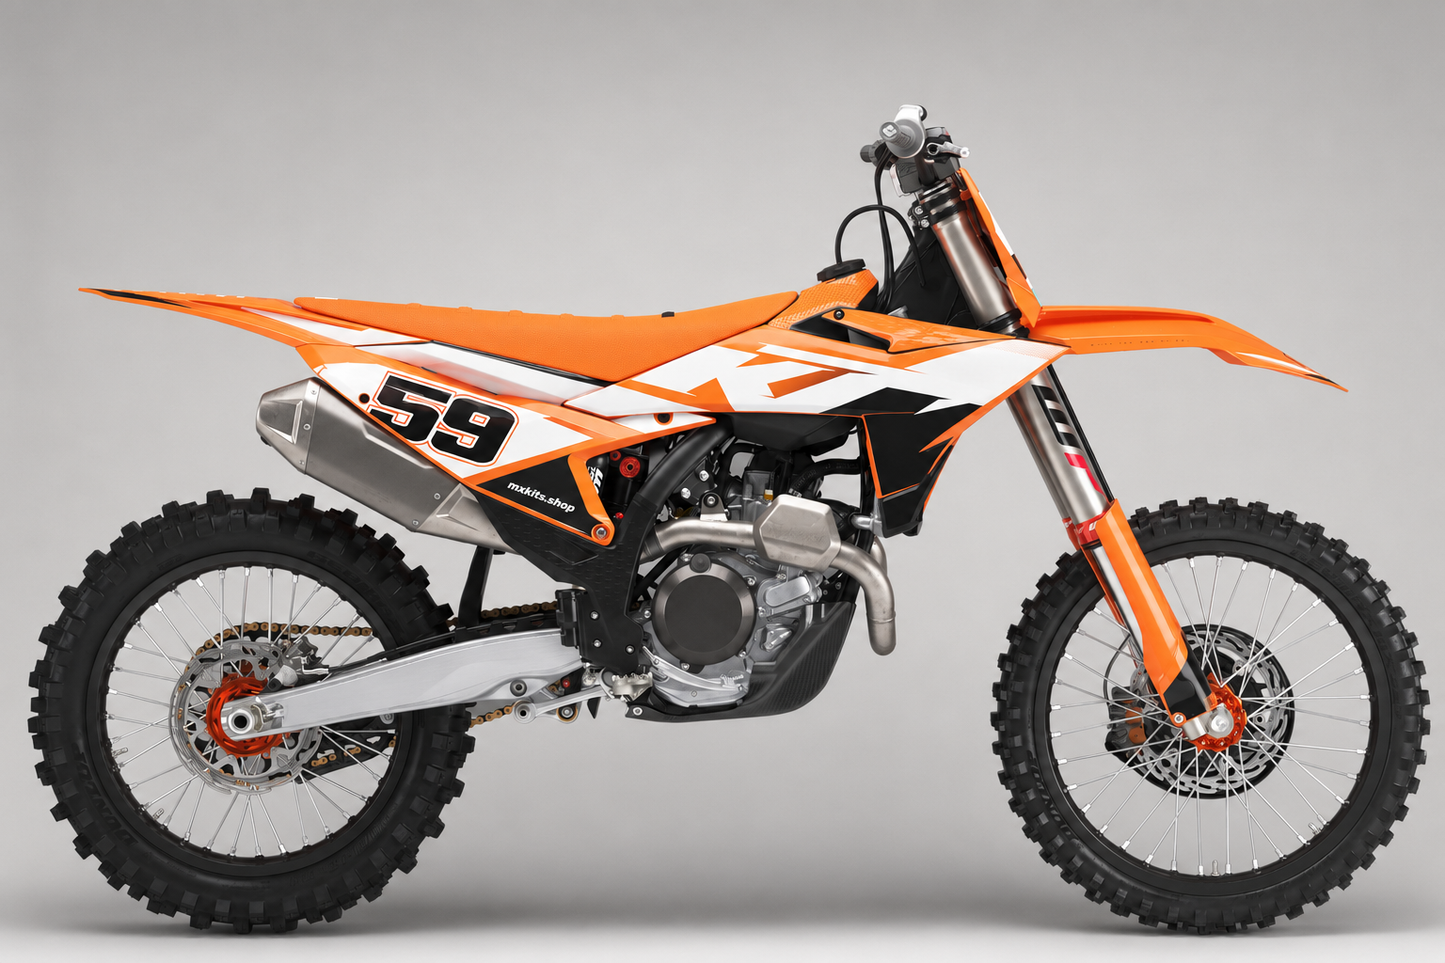
Orange Vector for a clean KTM silhouette
Orange Vector sharpens KTM's classic color story rather than replacing it. Broad white planes and controlled black cuts follow the natural angles of the tank shrouds and rear plastics, producing a quick, uncluttered profile. External sponsor decals, team references and product badges do not interrupt the panel flow. The compact mxkits.shop mark is the only text retained within the display design.
Custom identity on the rear panel
The shown 59 is only an example and will be replaced by the buyer's chosen race number. The preview uses crisp black digits framed by white and a narrow orange line, with notched corners that correspond to the surrounding vector shapes. Your own number receives a related treatment, and your rider name is arranged as part of the approval artwork.
What to send before production
Supply the exact KTM model, year, plastics generation or bodywork, engine size or capacity, rider name and race number. These facts select the proper cut template. The rendered bike explains the Orange Vector look but does not establish any model or year compatibility by itself. Depending on the chosen KTM, full-kit coverage can include shrouds, front and side plates, airbox sections, both fenders, fork guards and swingarm decals. Actual contents follow the available model-specific layout.
Graphic layers and installation
The kit combines 6 mil adhesive print film with a protective 15 mil clear laminate for approximately 21 mil total thickness. Remove old material, clean the plastics thoroughly, and verify that no wax, grease or glue remains. Lay each piece over the panel to understand its margins before exposing the adhesive. Fix a small reference area, move outward with overlapping pressure, and guide air away from enclosed sections. Use mild heat for demanding curves, maintaining the printed proportions. After all pieces are seated, press around every cut line and recess again, then allow the adhesive to stabilize before riding.